Chapati
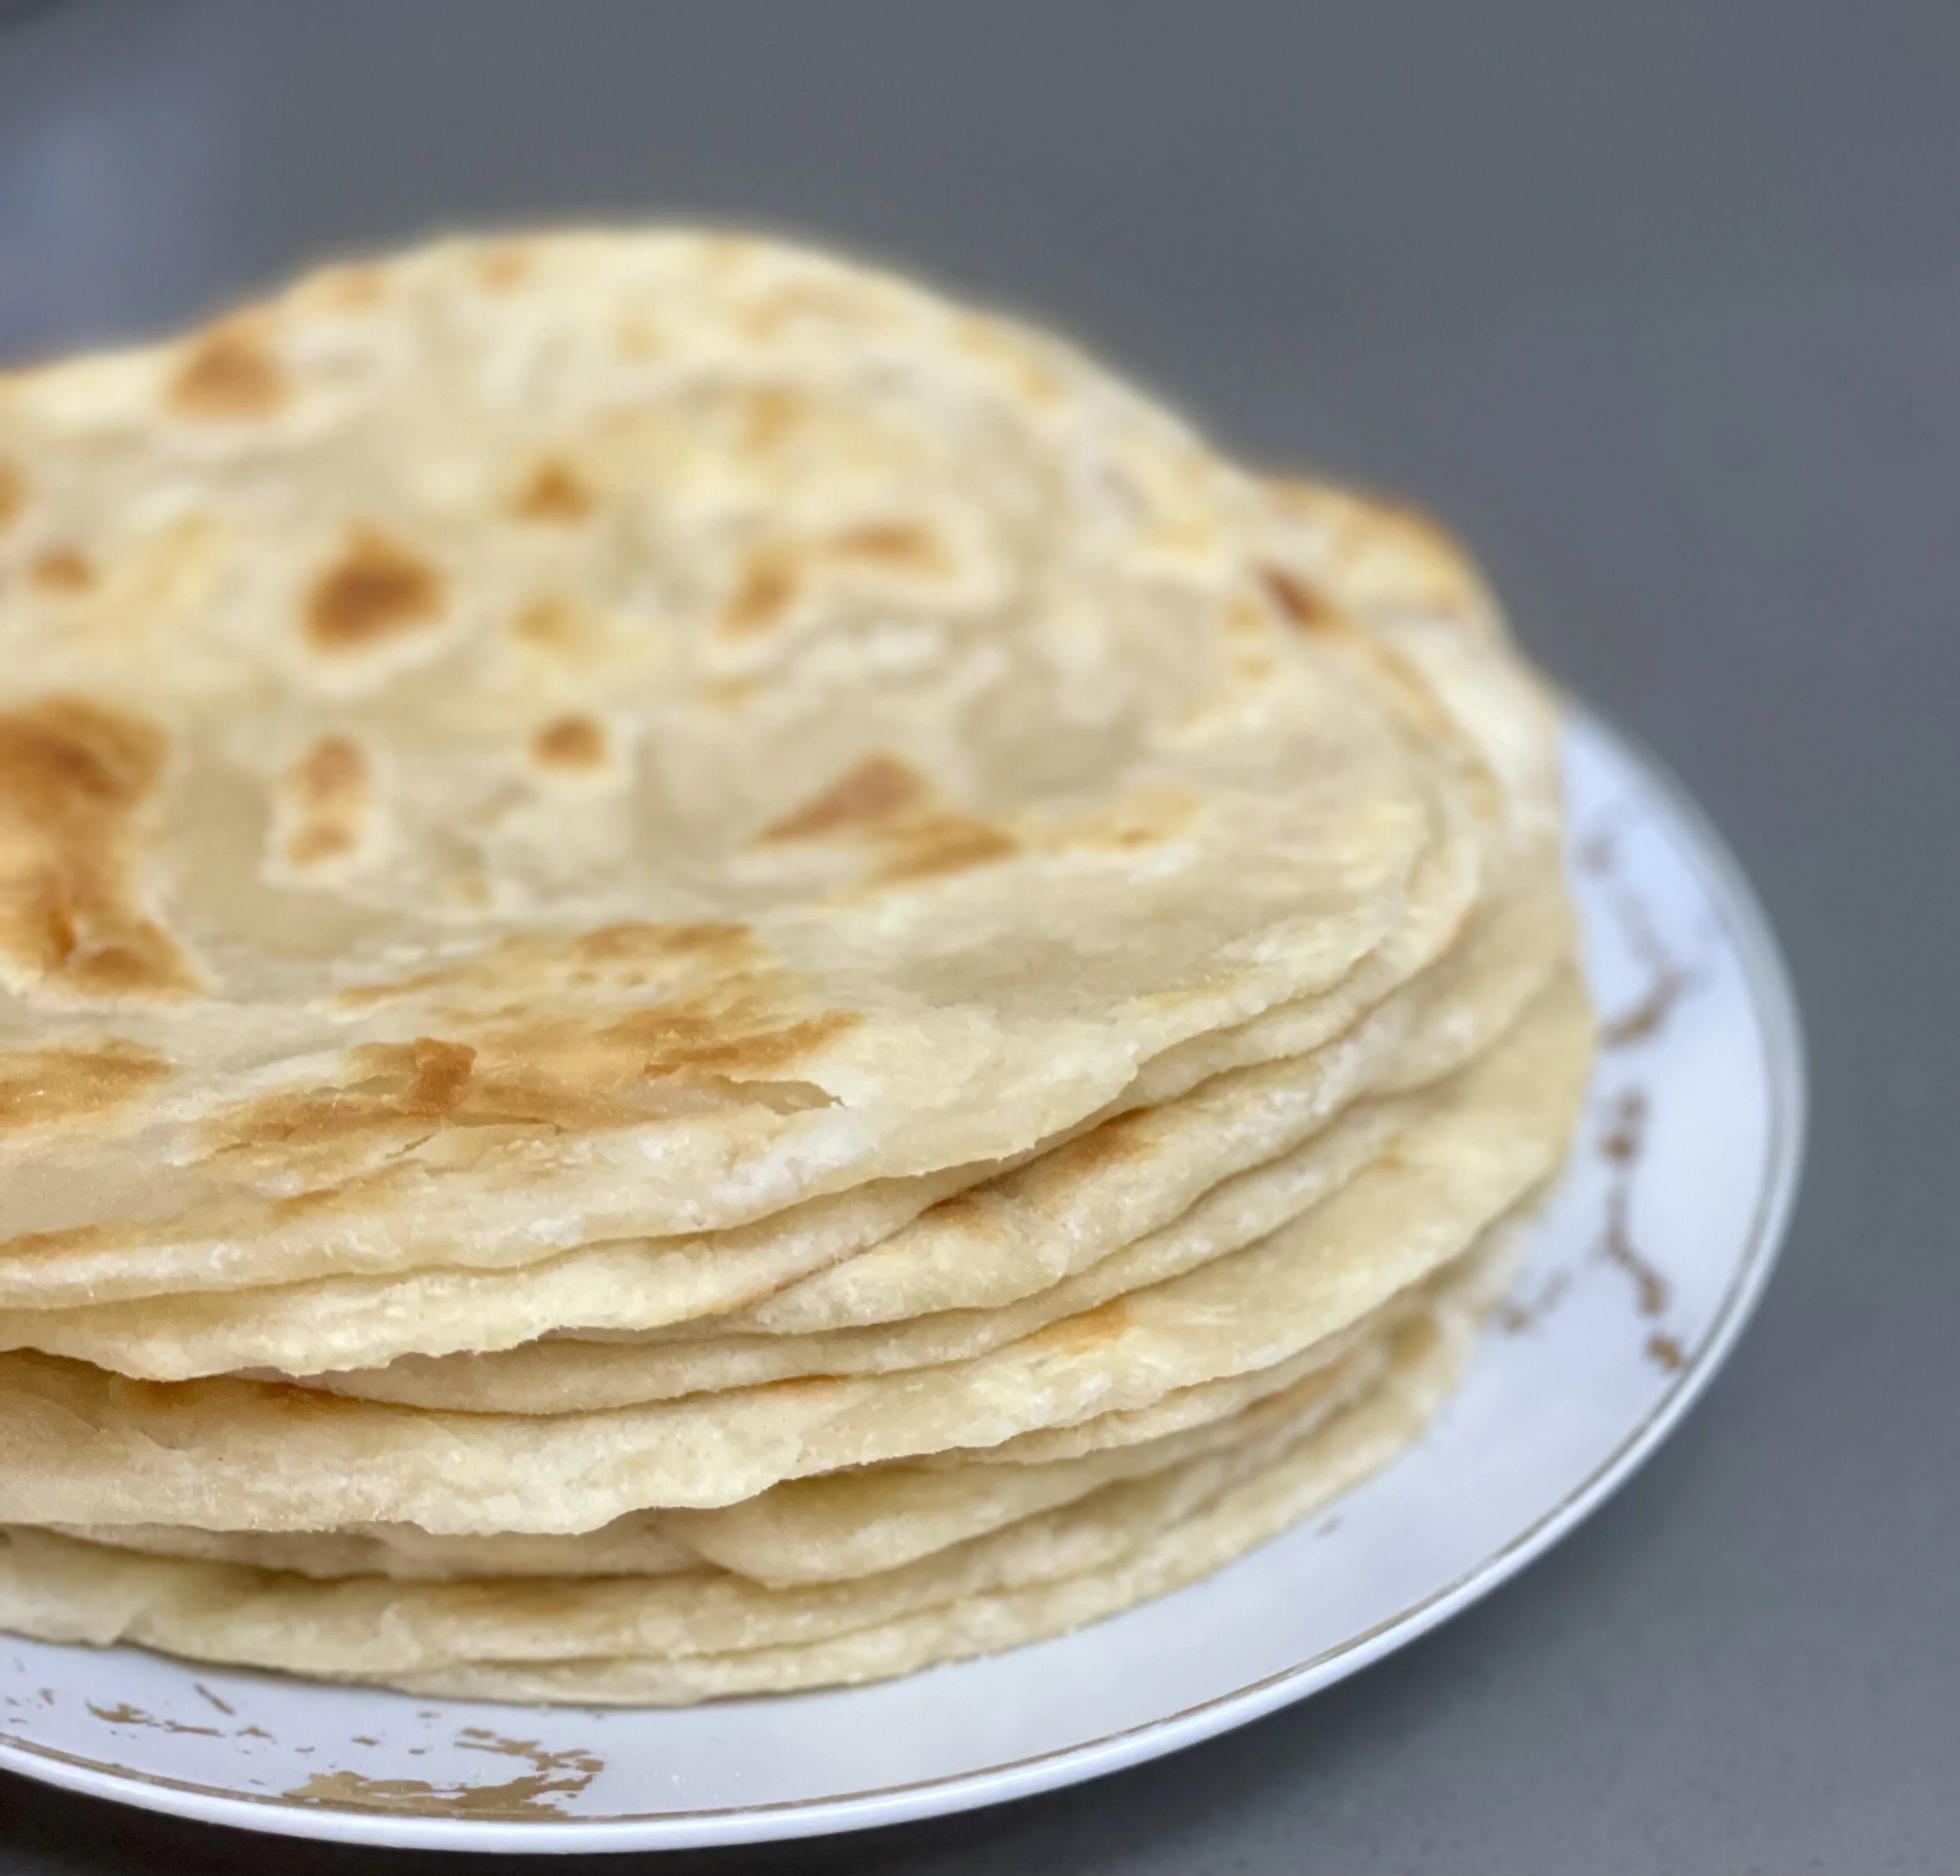
Chapati is a round unleveled flatbread. It has a soft and layered inside with a thin and flaky outer layer that distinguishes itself from other commonly know flatbreads.
East Africa especially in places like Tanzania, Uganda, Mozambique, Kenya, and Burundi to name a few, consider chapati to be a staple dish. Chapati can be eaten alone or paired; day or night. As a breakfast, chapati is set as a side to tea or, soup but can also be used as a tortilla to roll an egg omelet. For lunch or dinner it is commonly pairs with protein or vegetables. My favorite way to eat chapati is with chicken in a tomato based sauce, served with spinach or cabbage.
Chapati is light, flaky and requires only 4 ingredients: flour, salt, oil, and water. With such little ingredients your senses play the most critical part. It’s important to feel the dish, see the dish, smell the dish, hear the dish but especially taste the dish!
I have been watching the family’s dadas prepare Chapati for years. I was never officially taught how to make chapati. I watched as some would use warm water vs. boiled water or hot oil vs. room temperature oil; all sharing their wisdom on why they felt their way was the best way. After years of trial and error and long conversations with my also chef cousin I have finally nailed it. My Mama did not make chapati at home when I was growing up and since I didn’t eat it regularly in the house, I have always seen chapati as delicacy—you knew it was a nice party when chapati was on the menu and I would look forward to these family functions. I remember taking home so many doggy bag plates filled with chapati and not only me, Mama did too!
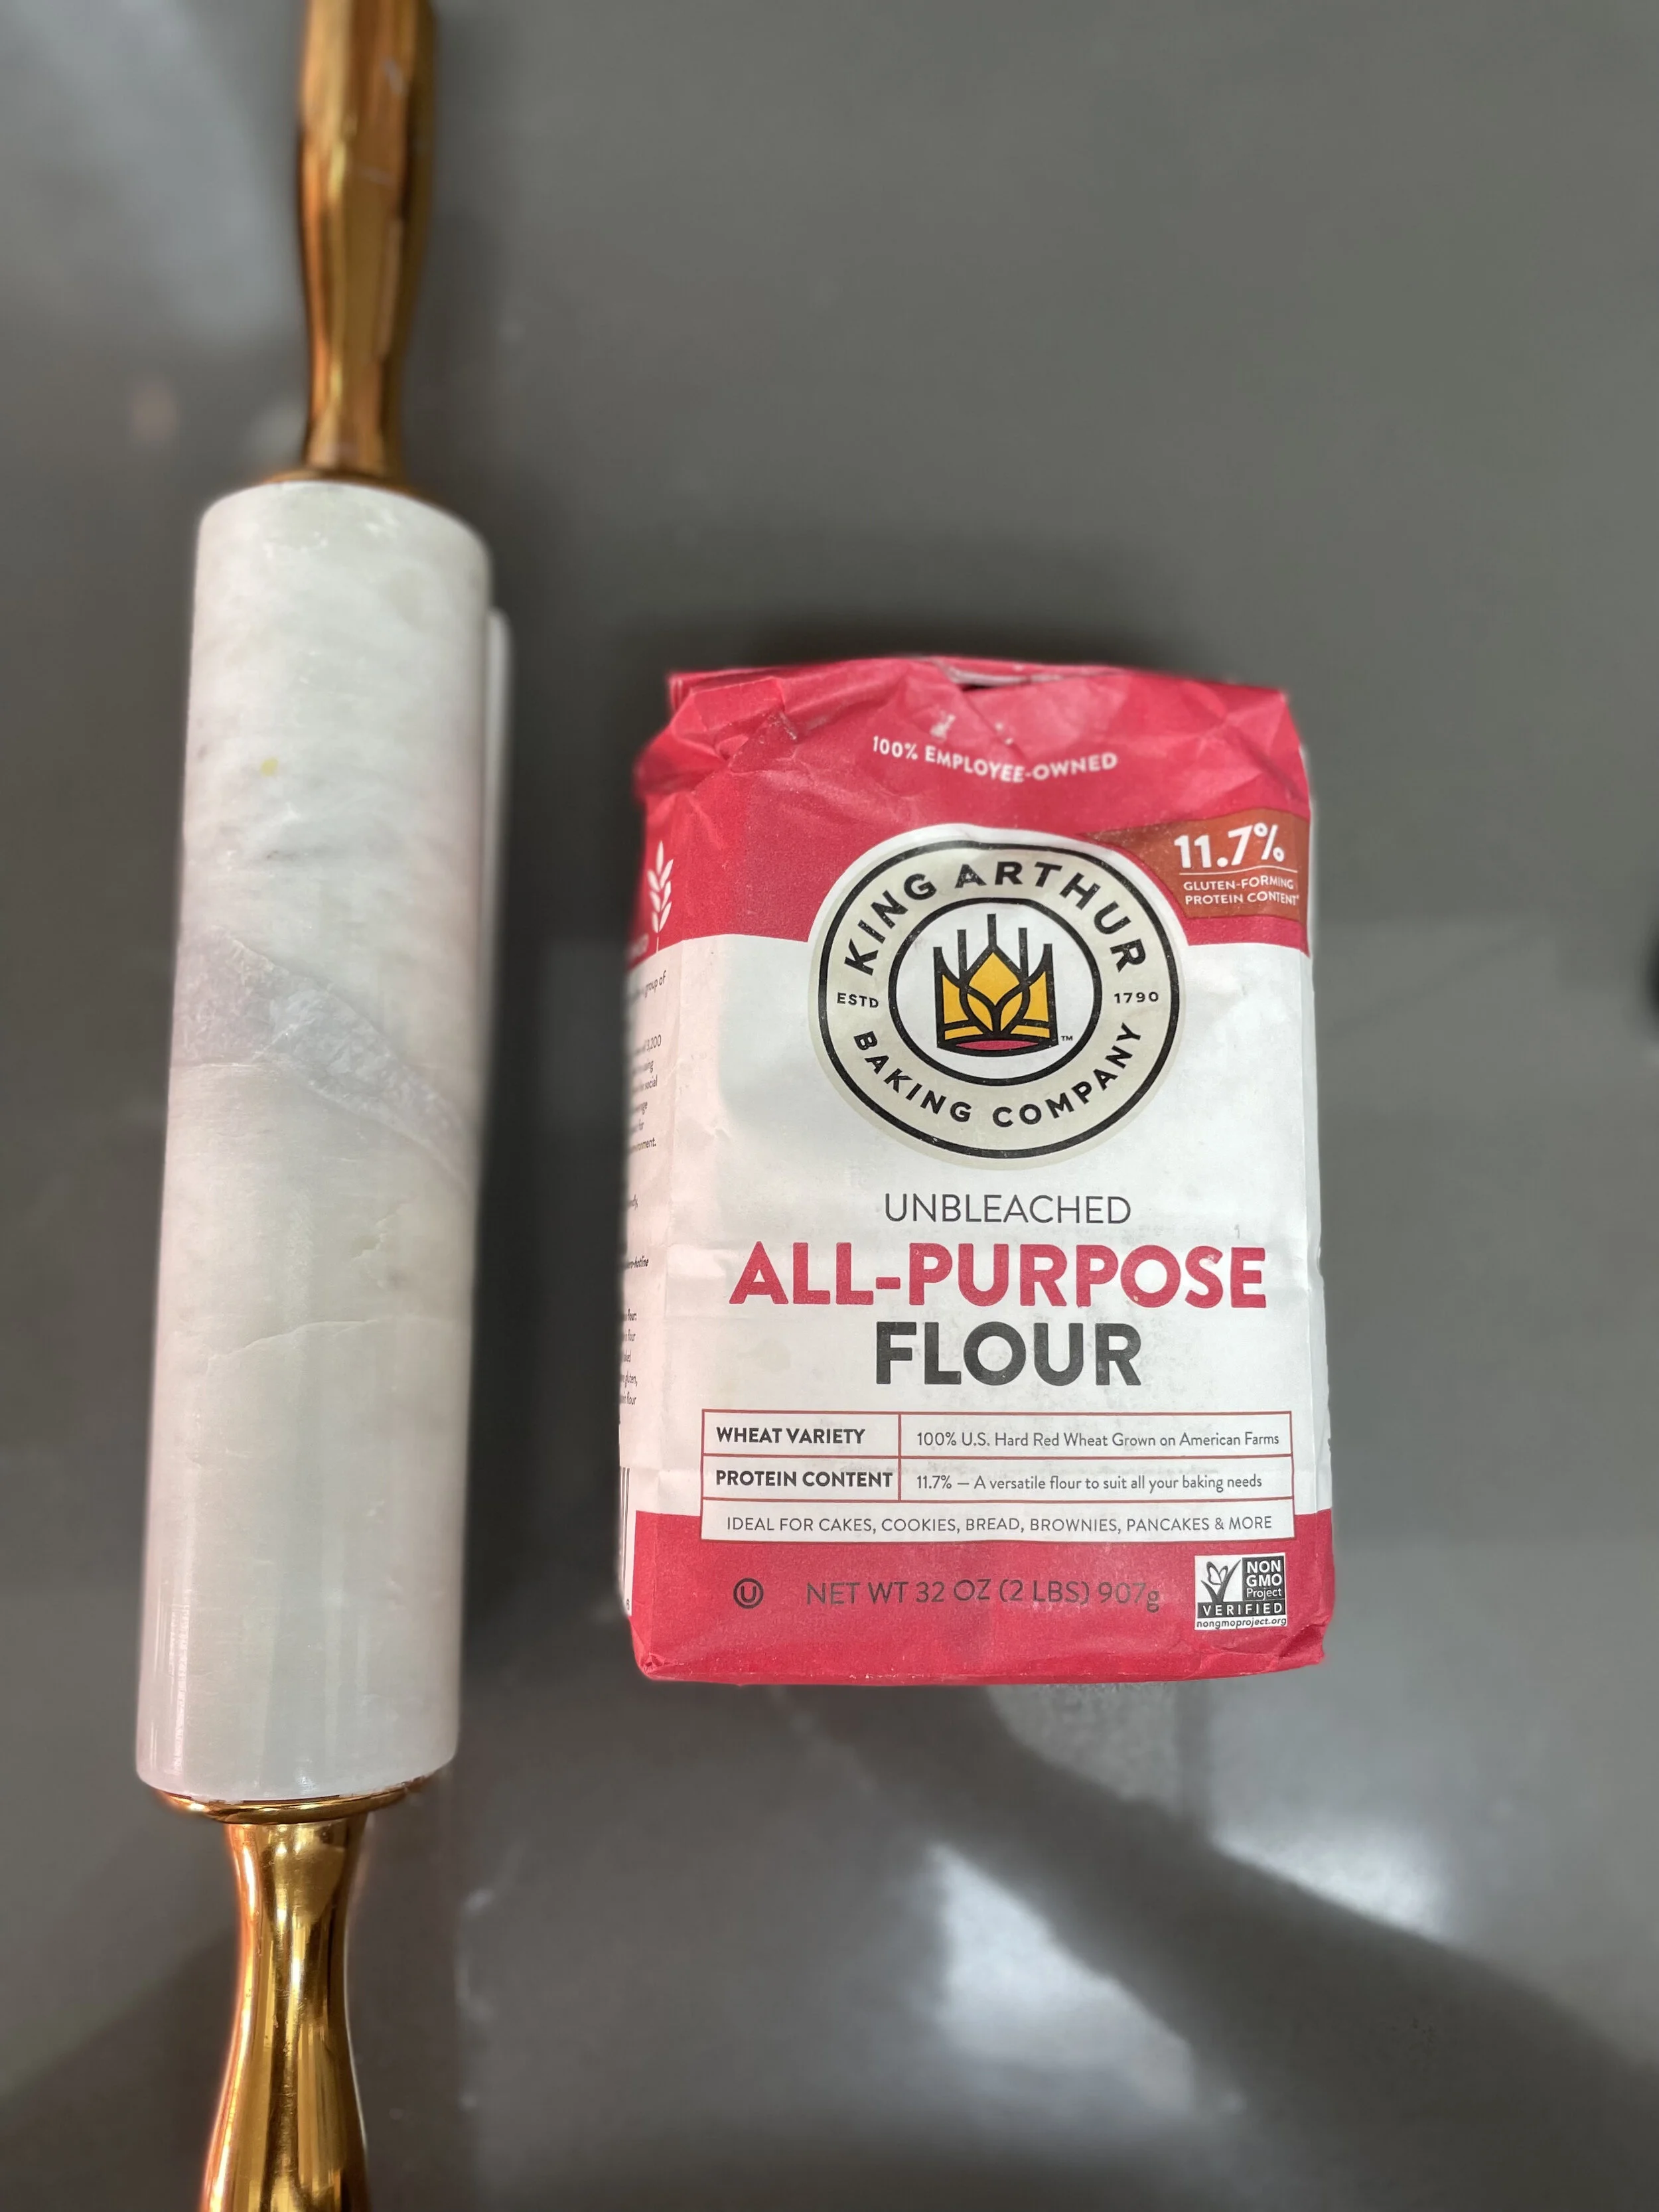
I like to start with a clean surface. I wipe everything down thoroughly because the countertop is my cutting board. I pull out a large mixing bowl, King Arthur Flour(when my aunt would come visit us from Boston she would often cook the things Mama didn’t. On her list of ingredient needed she always said, “make sure its King Arthur Flour unbleached” so, thats what I did, and that is what I still do), salt, hot vegetable oil and 1.25 cups of room temperature water. I also keep a little extra water and flour on the side just in case my dough is too wet or too dry. In my mixing bowl I add three cups of flour and one teaspoon of salt. I like to quickly mix that together before adding three tablespoons of hot oil. Then again, I mix everything together—with my hands. You will begin to see some of the dough knot up because of the oil and its important to thin out those knots before adding in the water, it will make the kneading process easier.
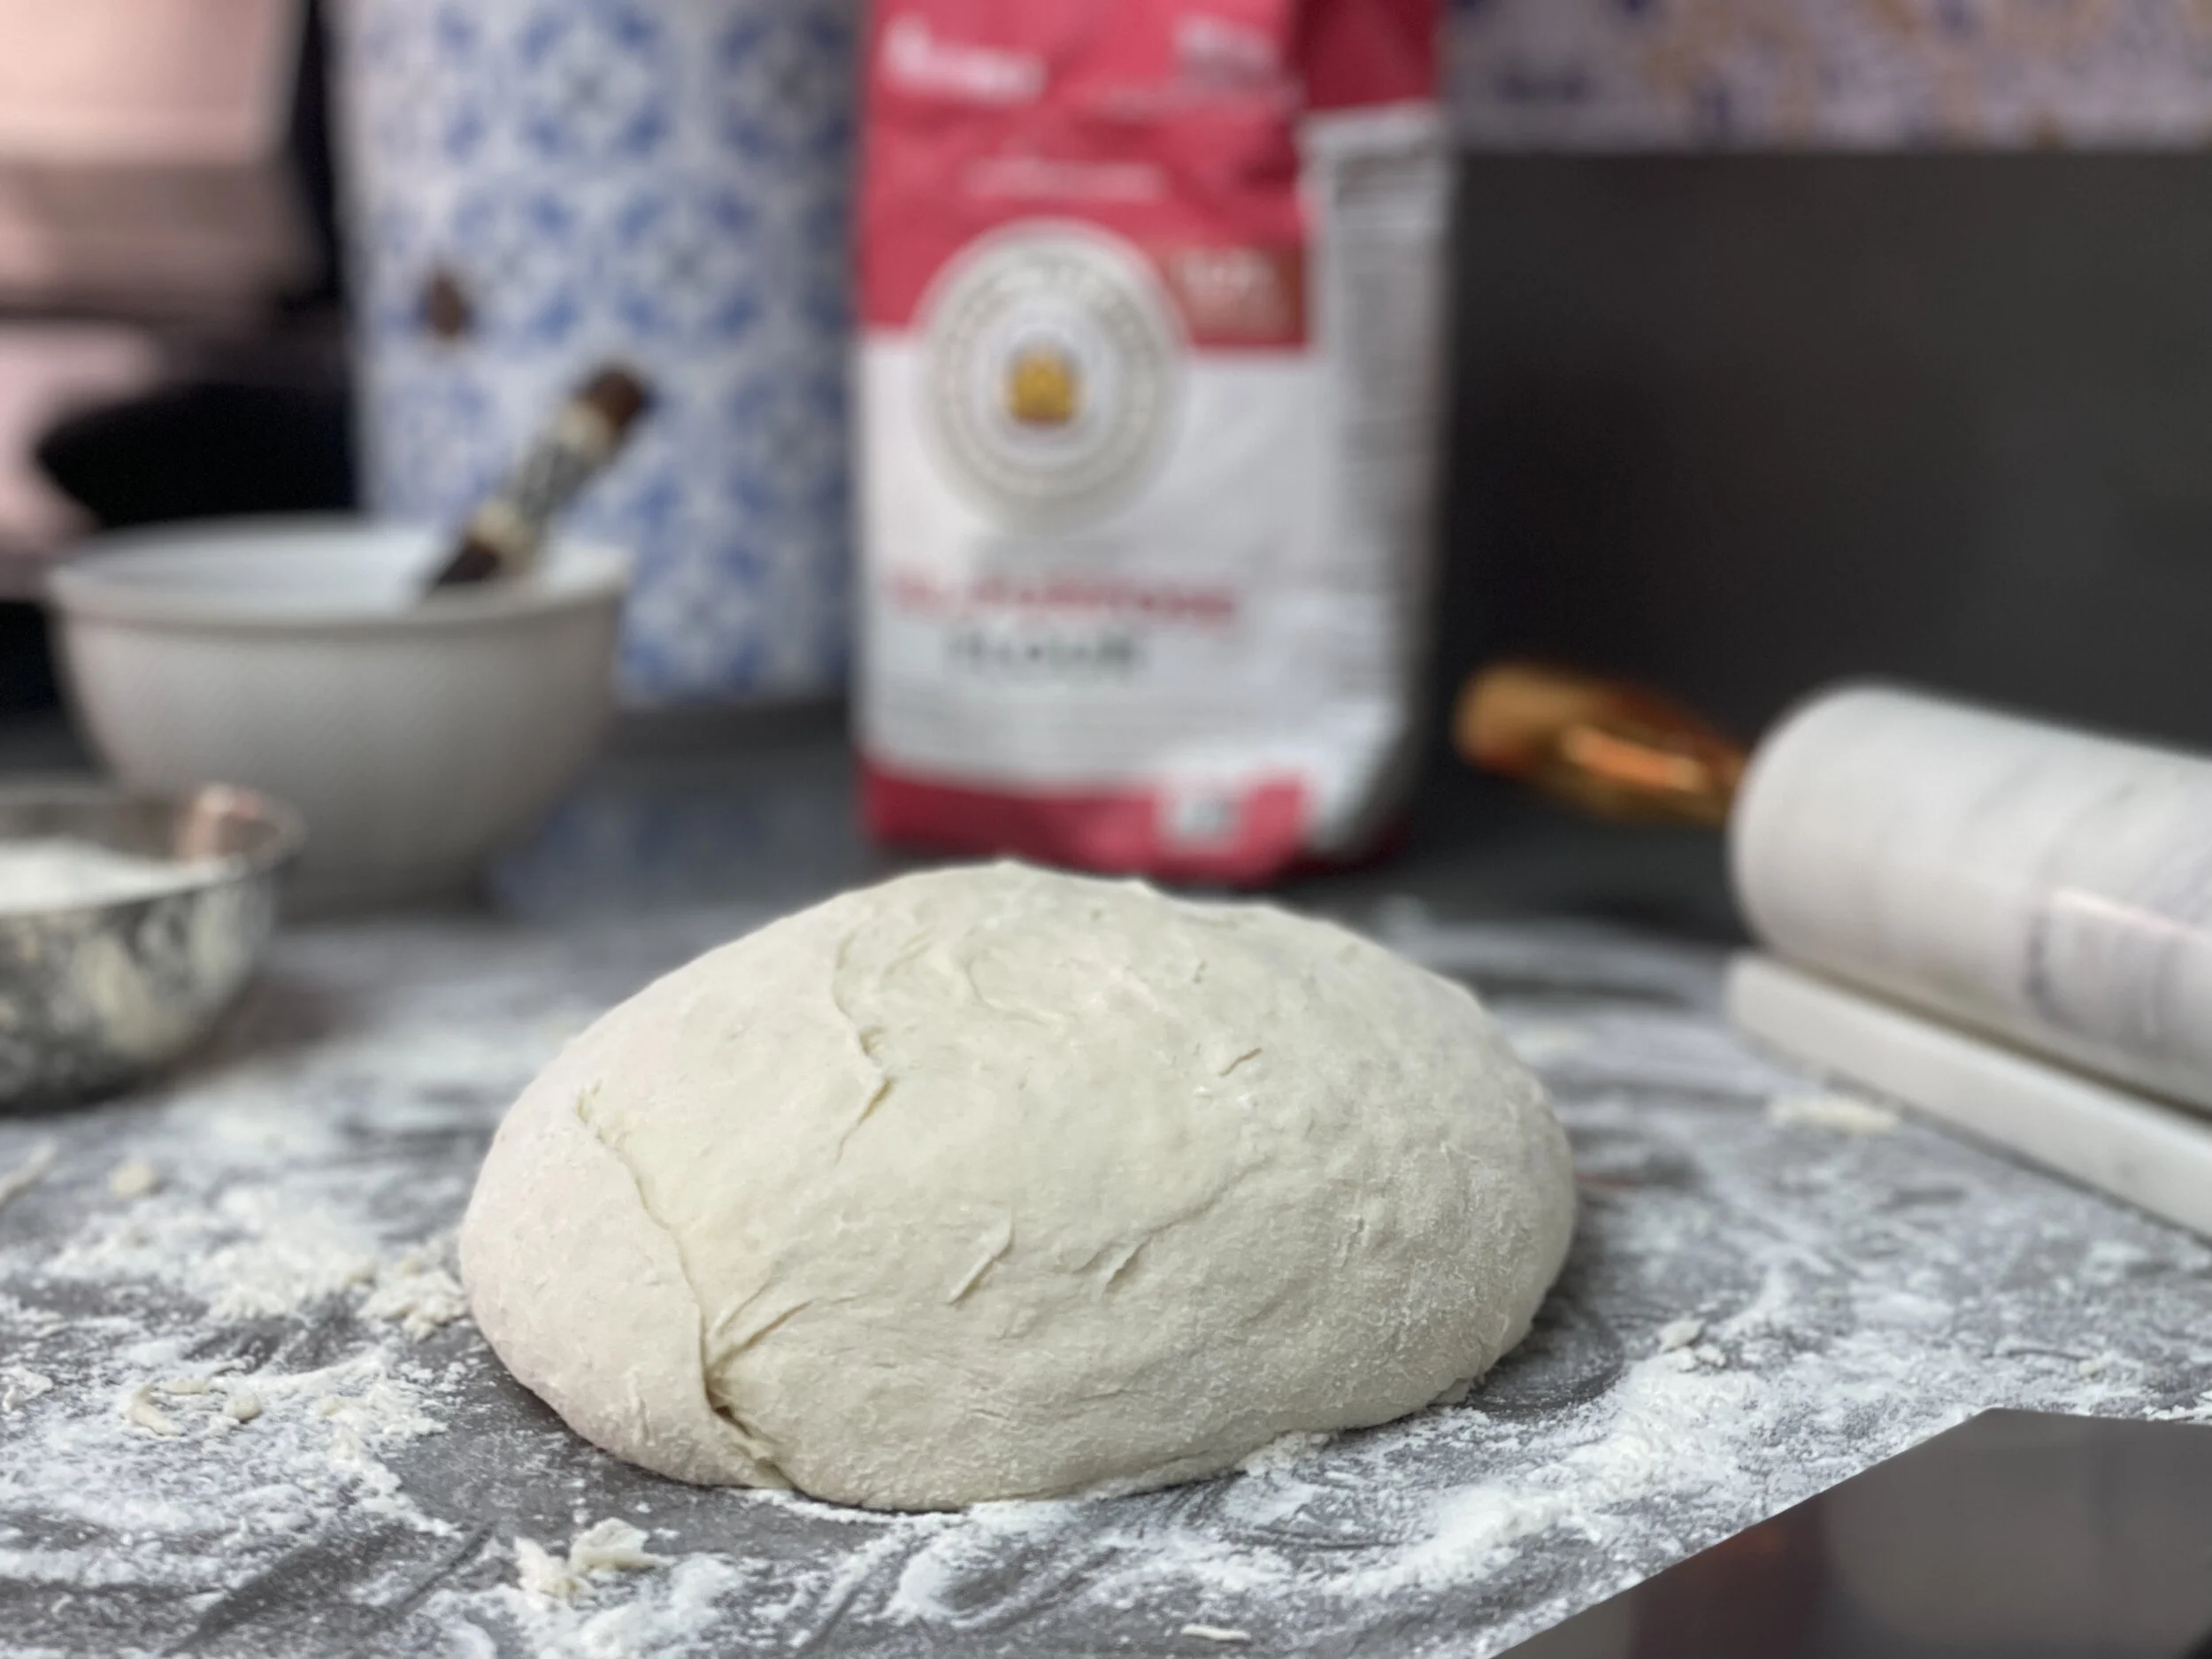
I am traditional and when making a small portion like this prefer to use my hands to knead the dough as opposed to a. mixer. Add the one and half cups of water to the flour mixture and with a floured hand, begin kneading the dough in the bowl until everything is into a big ball shape. I, then flour the counter top, remove the dough from the bowl and begin kneading on the counter. I feel like I have more control this way. Continue kneading until the dough is soft which can take approximately 10-15 minutes but, the best way to tell if the dough is ready is by the touch. Poke the dough and if it slowly springs back, your dough is ready. You can also make the dough using a KitchenAid and it’s dough attachment hook for 5-8 minutes.
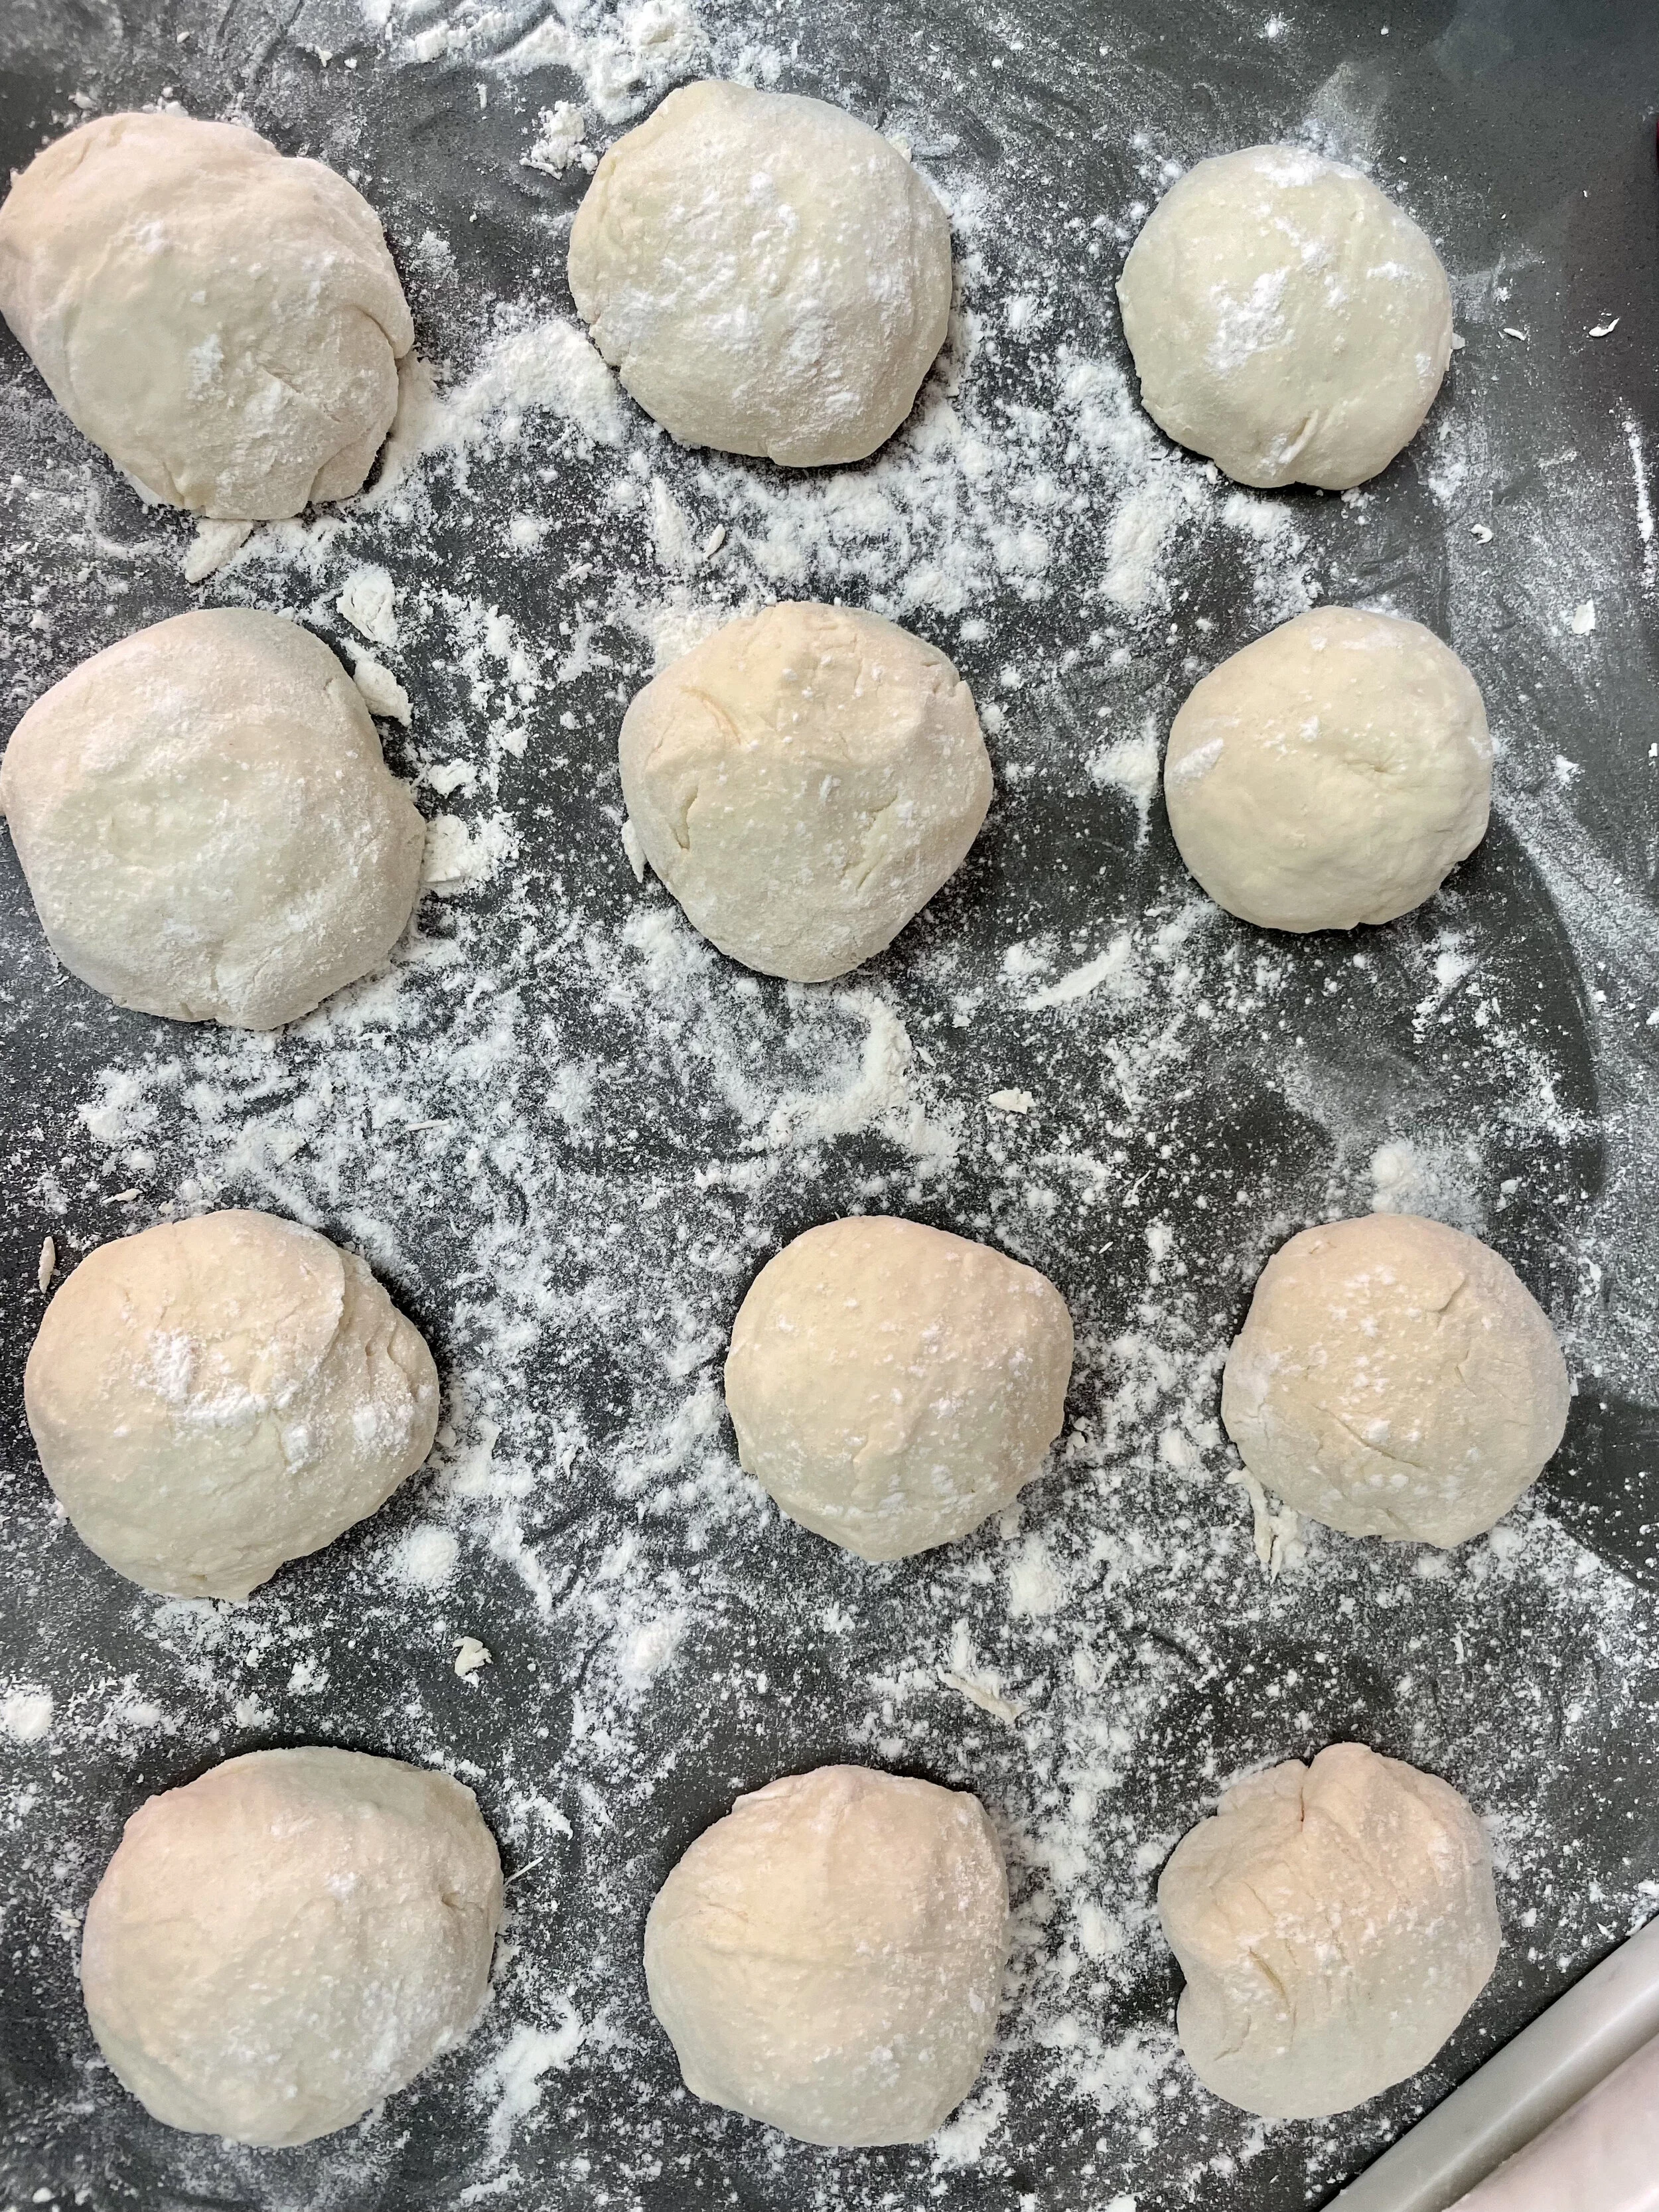
Divide your dough into 8-12 pieces and form each piece into balls using your hands and the lightly dusted countertop. Cover them with a kitchen towel and let the balls rest for 10-20 minutes.
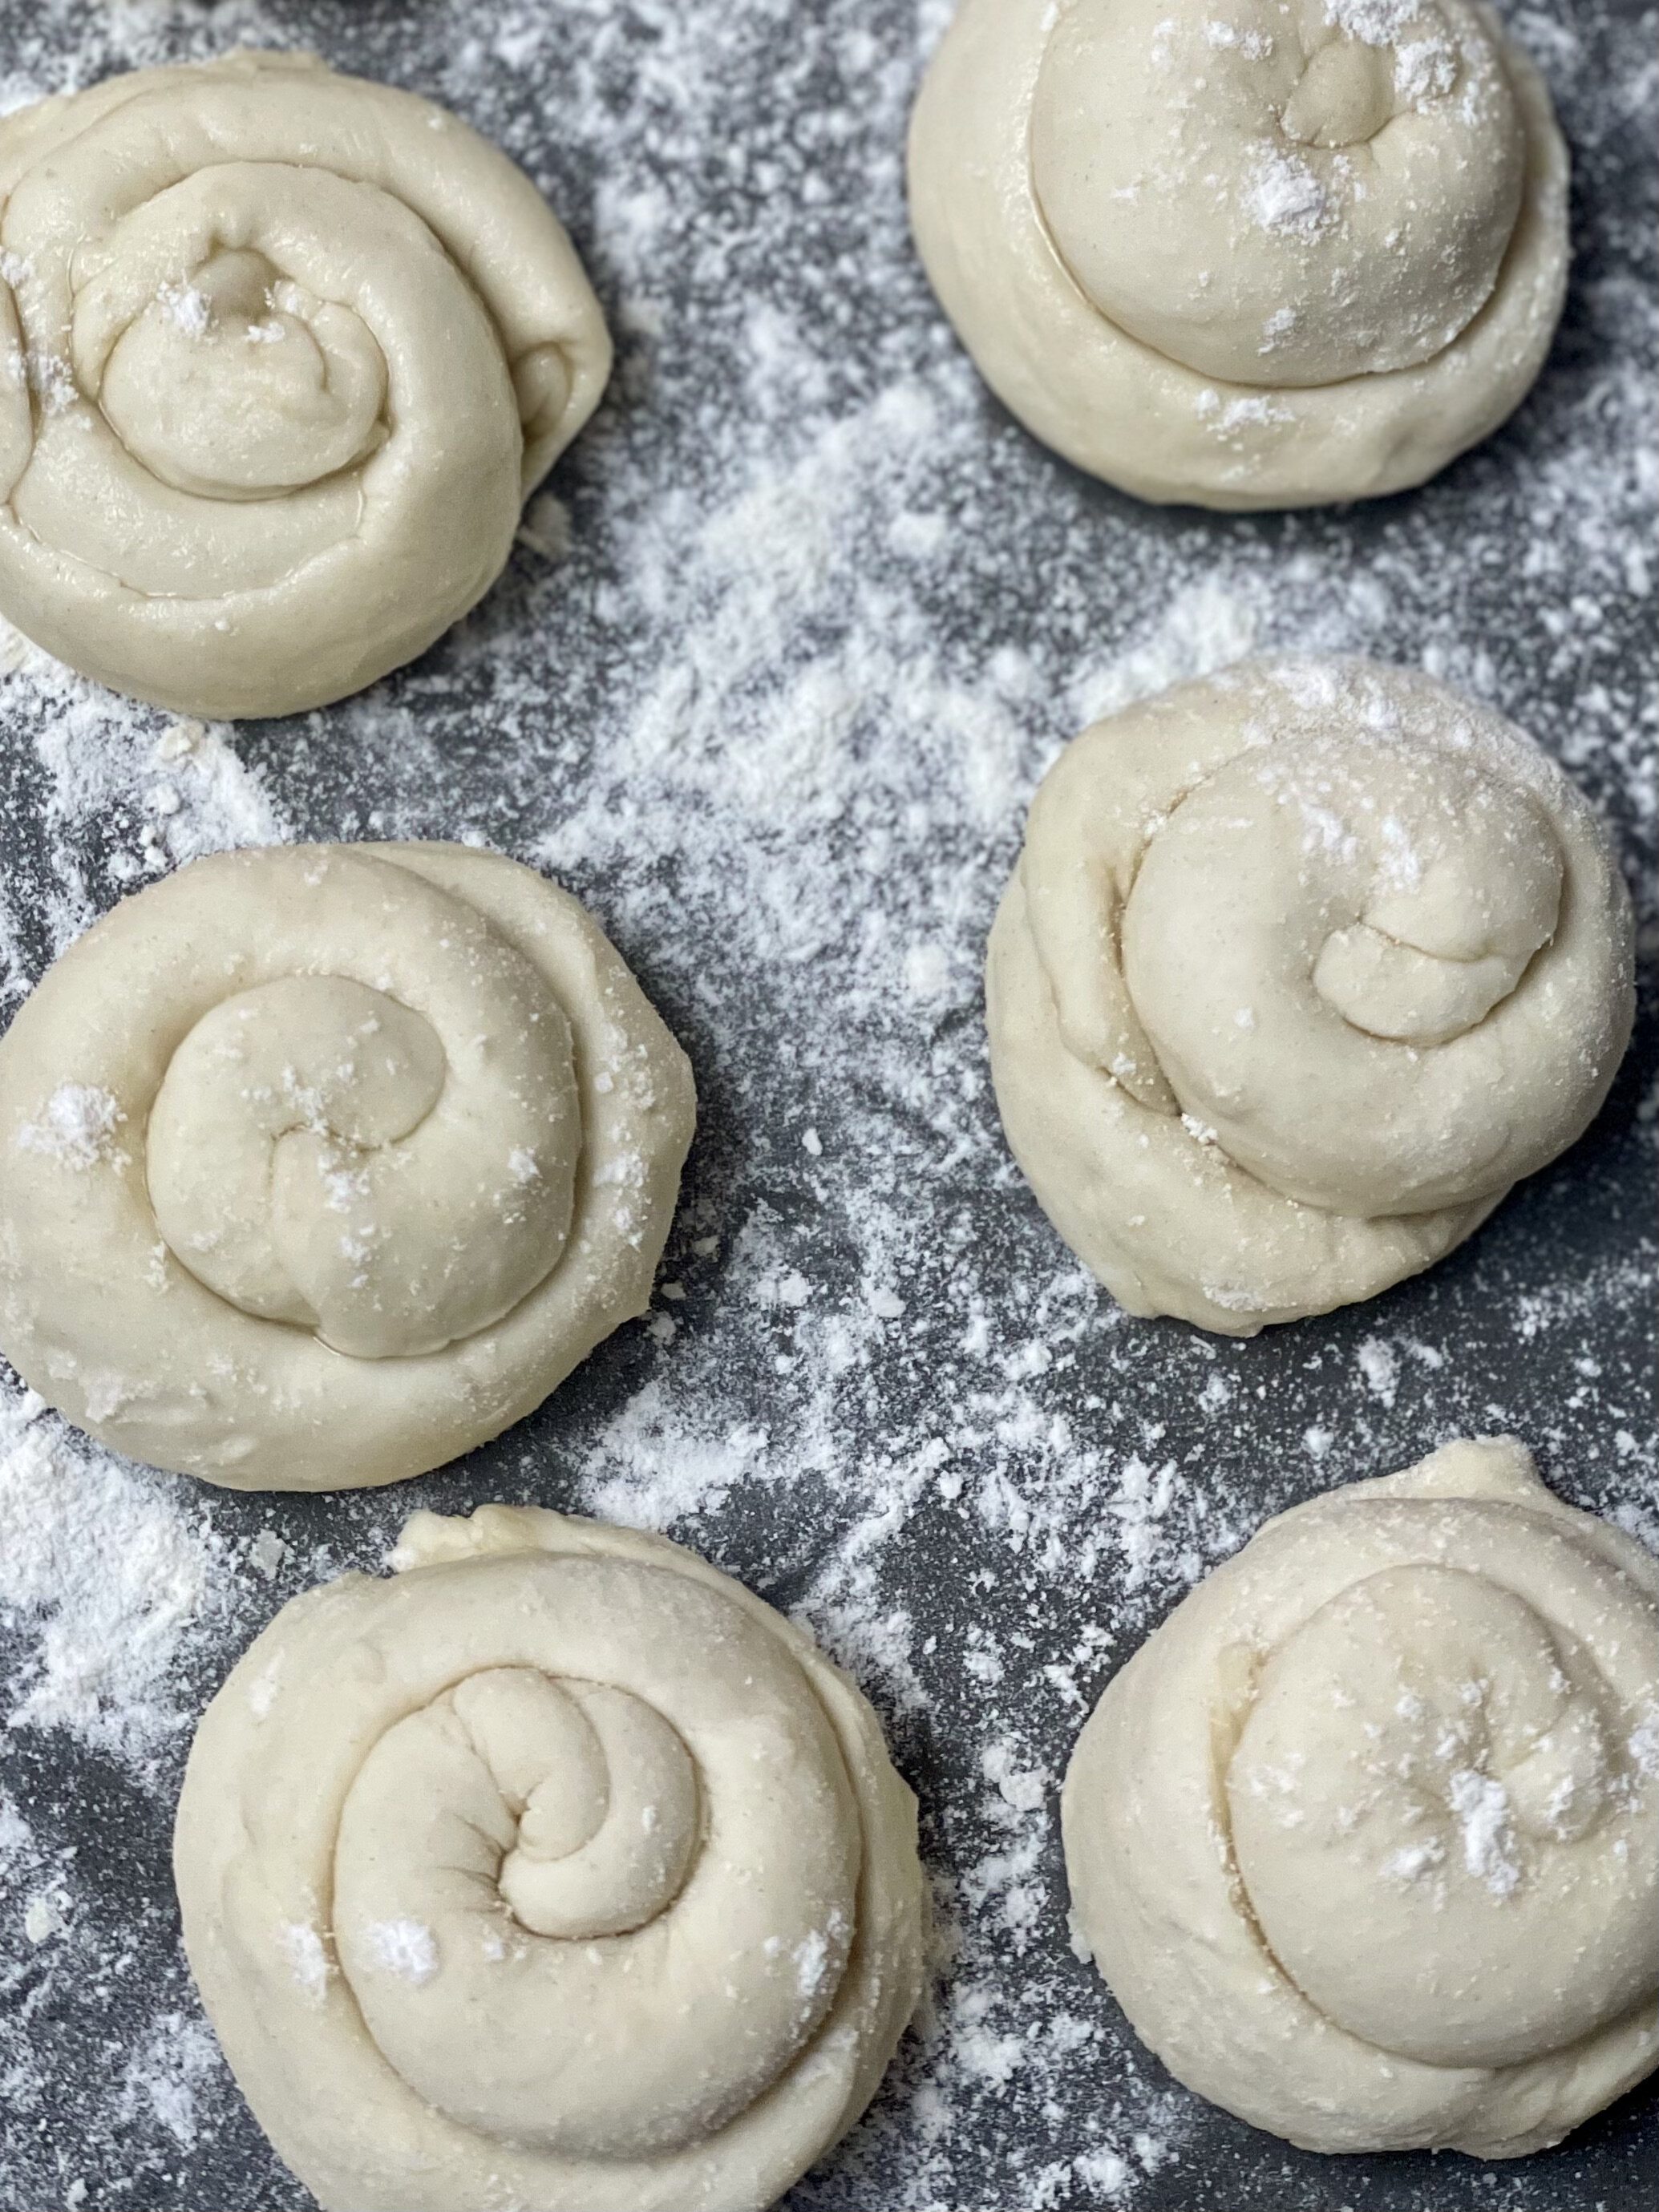
Taking one ball at a time on a lightly floured surface, begin rolling out the dough into a circle 6“-7” in diameter. Once the chapati is rolled out, pour about 1 cup of room temperature oil into a bowl. Using a spoon, drizzle a teaspoon of oil onto the rolled out dough and spread the oil until it is fully coated. Then on a flour surface, roll the chapati starting at one end and ending at the other. Finish up by forming a coil-shaped circle.
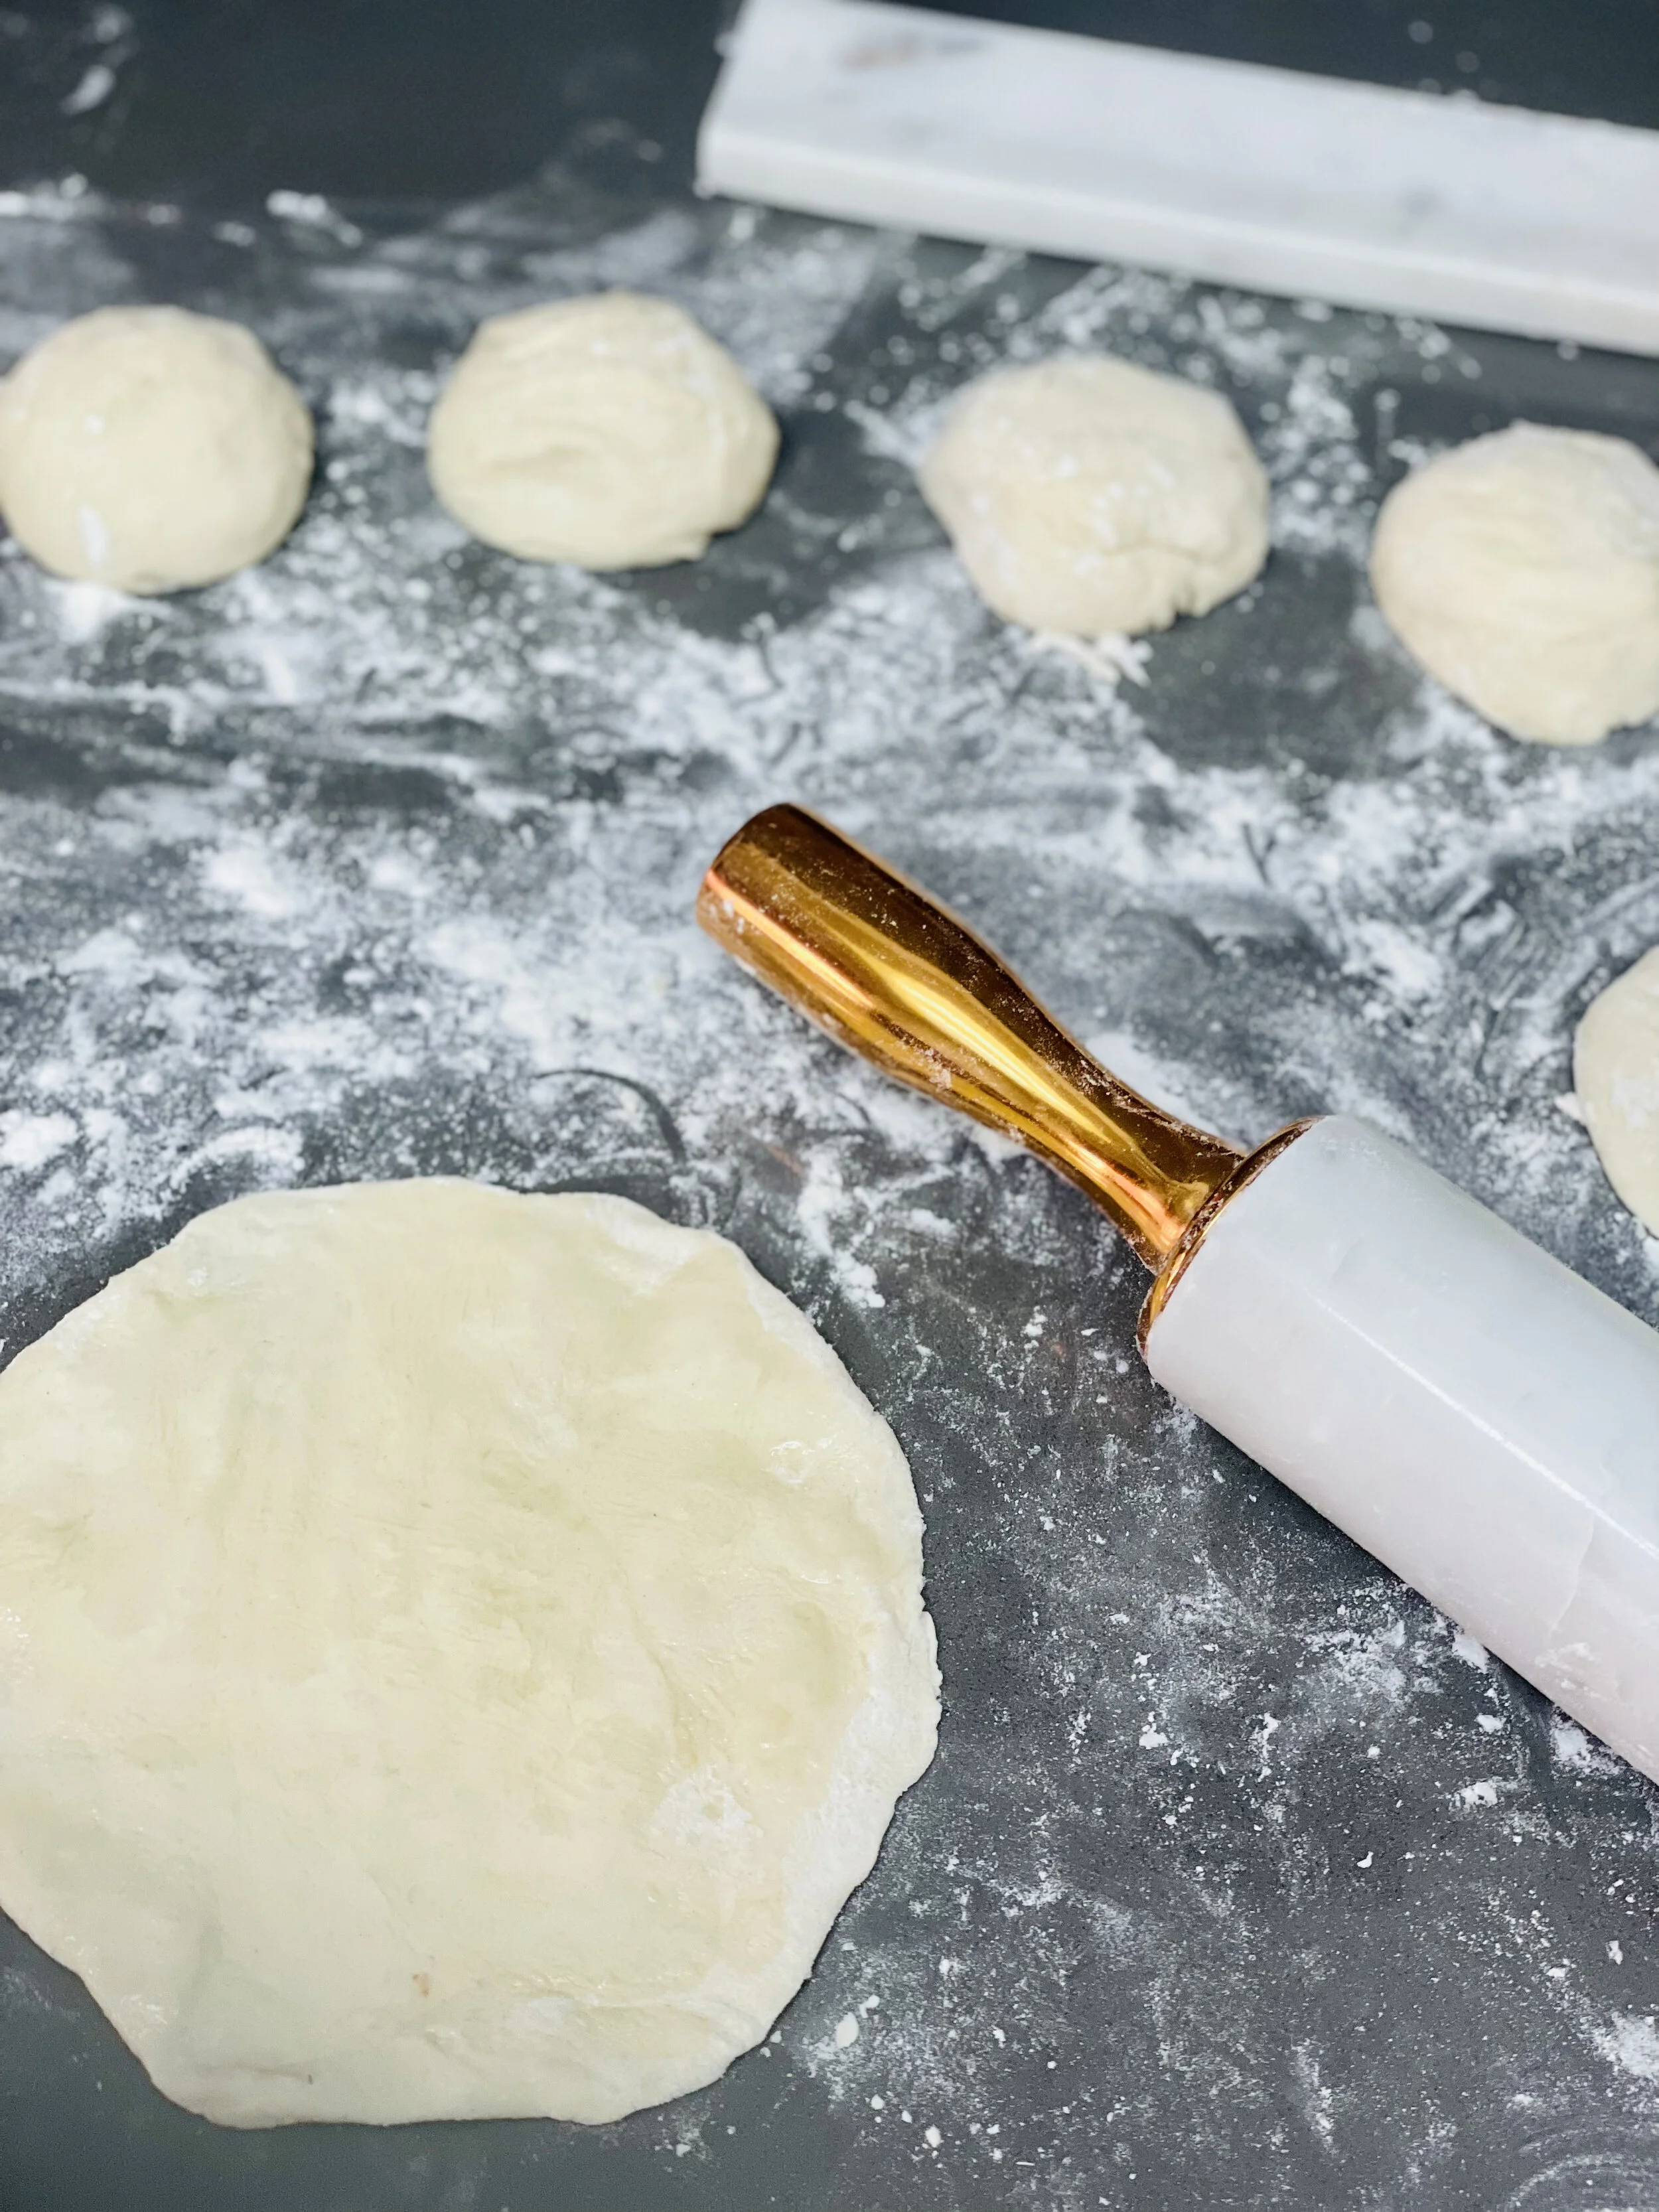
rolled out chapati
This process ensures that your chapati will have layers and will be flaky!
Allow your chapati to rest for another 15-20 minutes covered under a damp towel. During this time I like to prepare myself for the multitasking that is to come next. Everyone I have ever seen make chapati is always multi tasking: they are rolling out the coiled dough, cooking and monitoring the chapati and prepping for the next one like clockwork.
While my chapati is resting I prep. Prep includes filling up my bowls with vegetable oil and flour, grabbing a frying pan, setting up my rolling, cooking and resting stations and refilling my beverage.
Bring your pan to a medium heat. Using one chapati at a time, roll out your coiled dough into 6-7” in diameter. Once the pan is heated place your rolled out dough onto the pan without any oil. Cook the chapati on that side until bubbles appear on the upper side and then flip. Using a teaspoon pour a little oil on the cooked side of the chapati while the uncooked side is cooking. Once the cooked marks appear on the other side, flip and oil again the un-oiled side. At this point both sides should be oiled and your chapati should be partially cooked. Cook for another 30 seconds or until both sides have light brown spots.
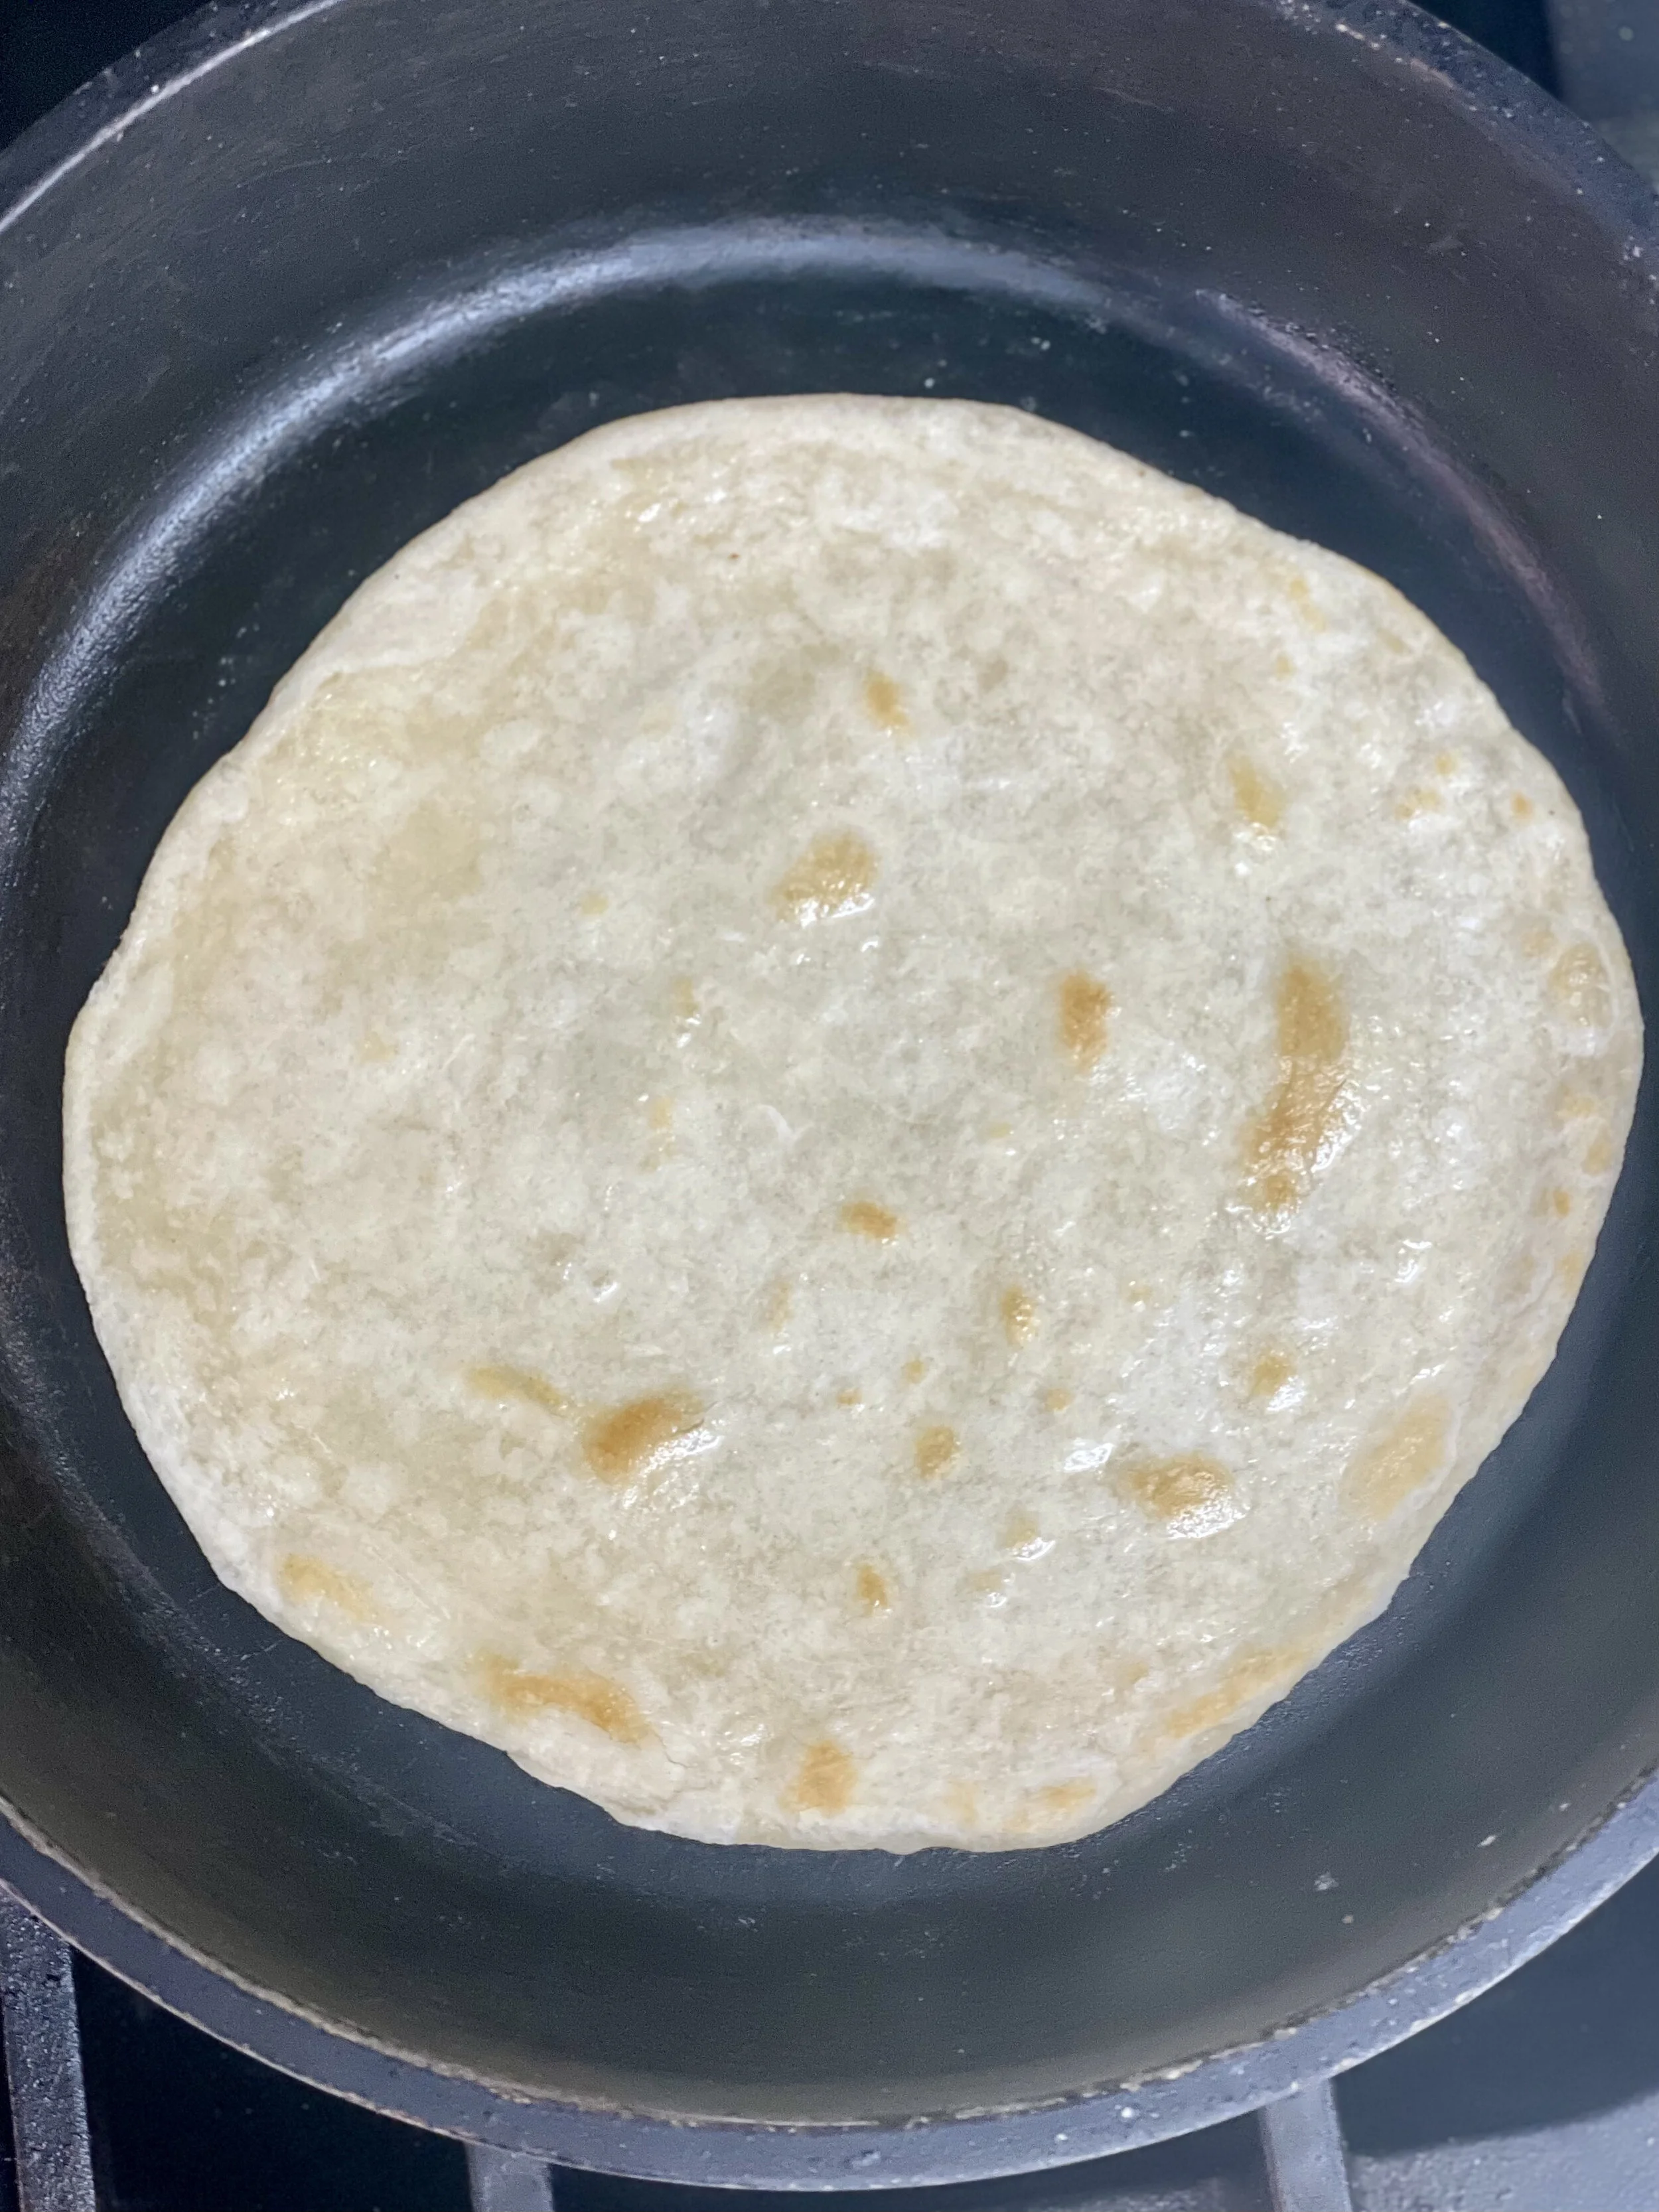
These are the light spots you are trying to get before you add oil to your chapati
This is very important… between each chapati use a paper towel to wipe down your pan. In effort to save the environment, I like to use a clean kitchen towel. Continue to steps above until all your chapati is completely cooked. Karibu Chakula, enjoy your food!
Ingredients
3 cups of flour, if dough is too wet during kneading you may add more flour 1tbsp at a time
2 cup of flour, for flouring surface during kneading and rolling
1 teaspoon of salt
3 tbsp of hot oil
1.5 cup of vegetable oil, for cooking and rolling
1.25 cups of room temperature water, if dough is too dry during kneading you may add more add 1 tbsp at a time
Instructions
Add the flour, salt and hot oil to a large mixing bowl. Mix together with your hands or spoon until all oil clumps are thinned out.
Using a half a cup at a time, begin adding water and begin to knead the dough. Once the dough is starting to come together, flour your counter and transfer the dough mixture onto the counter. Use your hands and the counter to knead the dough—this way is the traditional and simplest way to knead dough.
Once the dough is fully kneaded, allow it to sit for 20 minutes.
Tip: the best way to tell if the dough is ready is by your touch. Poke the dough and if it slowly springs back, your dough is ready. If it get stuck, keep kneading because you are almost there & are doing great.
Split the dough into 10-12 equal balls using your hands the floured kitchen surface.
One at a time and with a rolling pin, begin rolling out each chapati into 6”-7” diameter circles.
Once rolled out, using a spoon or brush, oil the dough and coil or fan fold your chapati. This helps form the flakes. Repeat with remaining pieces and let them sit for another 10-15 minutes.
Using a frying pan, bring your pan to medium heat.
While your pan is heating up, one at a time roll out the chapati into 6”-7” diameter circles. Place your rolled out chapati onto the hot pan without oil.
Cook the chapati on that side until bubbles appear on the upper side and then flip.
Using a teaspoon pour a little oil on the cooked side of the chapati while the uncooked side is cooking. Once the cooked marks appear on the other side, flip and oil again the un-oiled side. At this point both sides should be oiled and your chapati should be partially cooked. Cook for another 30 seconds or until both sides have light brown spots.
While your chapati is cooking (approx. 3-5 per chapati depending on size and heat temperature) roll out the dough that is coiled and begin creating an assembly line. Once your chapati is done cooking place onto a plate and cook the remaining. Be sure you wipe down the pan down with paper towel or a kitchen towel in between each chapati to avoid frying the dough.
Karibu Chakula!